1. Get Started
DumboFab Video Converter is easy yet powerful video/audio processing software running on Windows OS. It can not only convert but also edit video/audio files easily. Note that we have both Windows version and Mac version for DumboFab Video Converter. For the whole guide of DumboFab Video Converter, we will mainly introduce the Windows version, and the Mac version has the same functions if there is no special remark. The illustration below may help you know and use the software better in details.
Click the button below to download a setup file of DumboFab Video Converter for Windows.
Install DumboFab Video Converter.
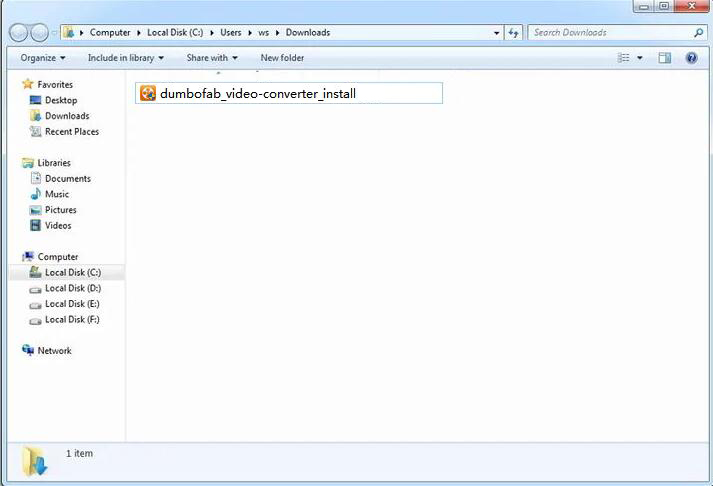
Double-click the setup file.
From the pop-up window, click Next to go ahead.
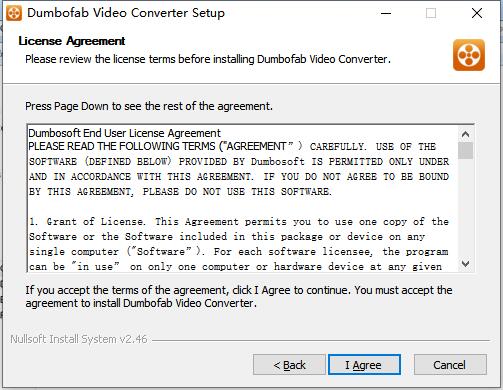
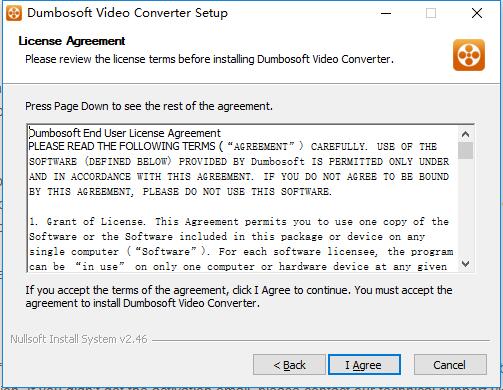
In the coming window, read the end user license agreement carefully and click I Agree to go ahead.
Then, browse the destination folder to save your installation files.
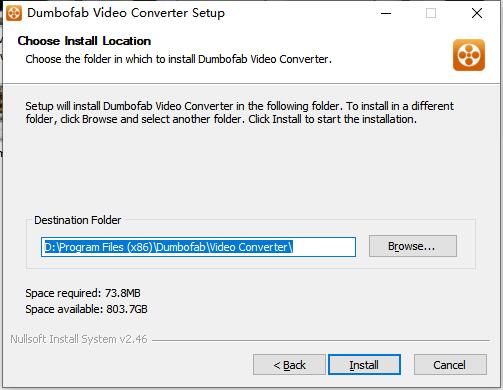
After that, click Install to finish the installation.
It will take seconds to install DumboFab Video Converter successfully. A window like below will prompt you that you can click Finish button to open DumboFab Video Converter at once.
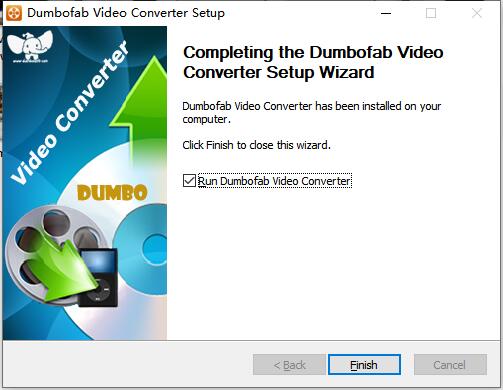
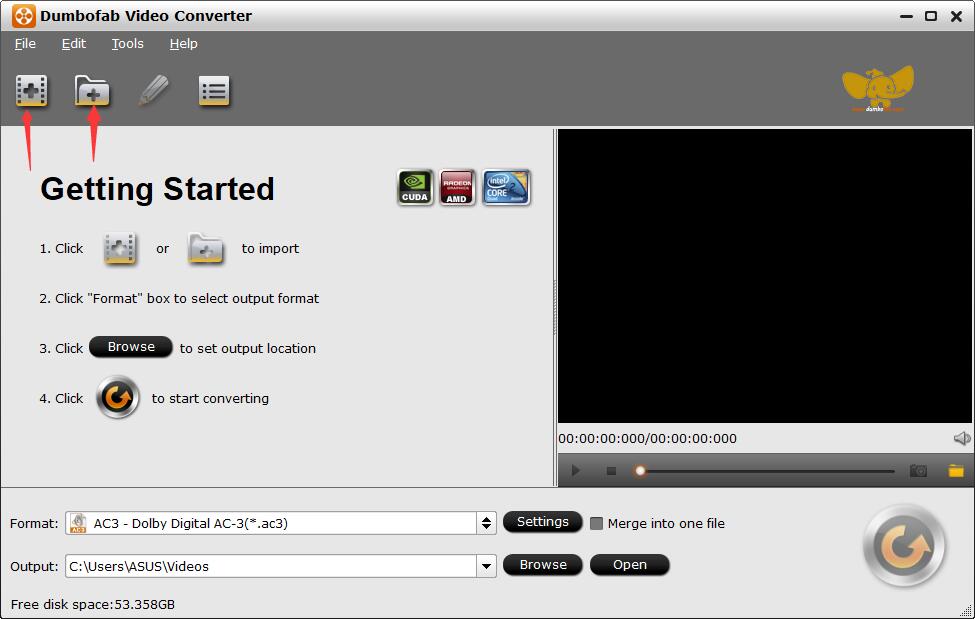
After clicking Finish button, you will enter the main window of DumboFab Video Converter shown as below.
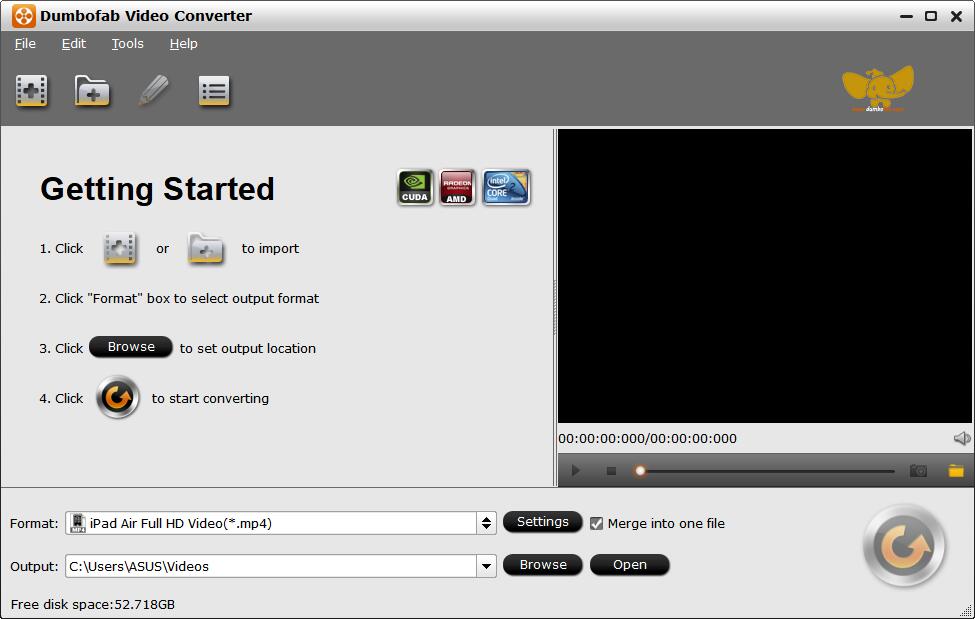
Trial version is limited to convert 3-min video for evaluating purpose. .
PS: The trial version and registered version are the same product, except for the 3-minutes time length output limitation. After purchasing, you will get a registration code. Once you register the product, the free trial limitations will be removed.
※ You will receive product information with license code via email after placing your order..
To register DumboFab Video Converter, please go to the menu icon of the interface at the top of the software and move mouse cursor to Help > Register icon to enter the Register window.
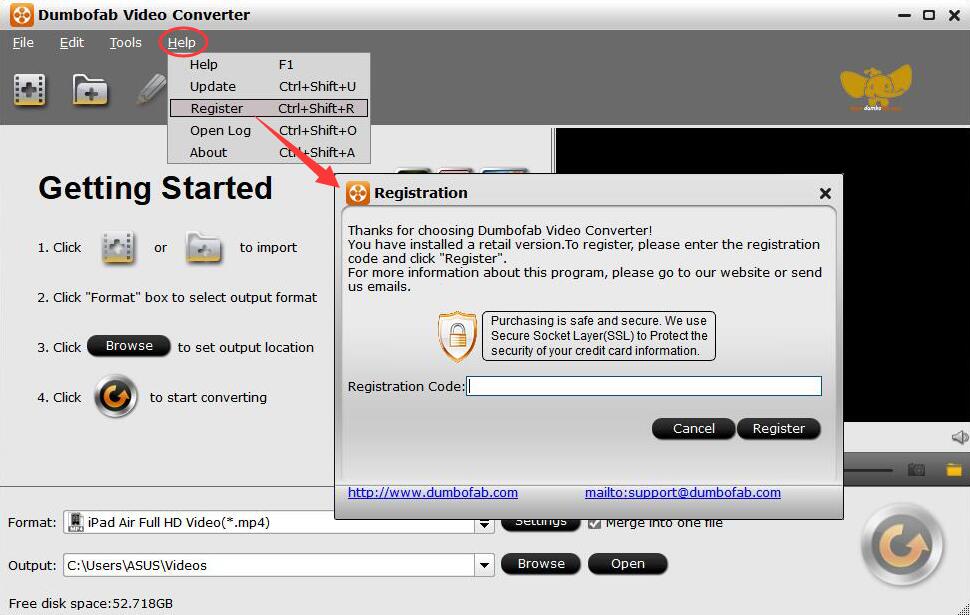
Then, copy and paste the licensed E-mail address and the registration code to avoid any typos, then click the Register button to go ahead. Meanwhile, please make sure that the Internet connection is fine while you register DumboFab Blu-ray Ripper. Once DumboFab Video Converter is registered successfully, you'll see a pop-up registration successful page.
 2. Convert Video
DumboFab Video Converter is a full-featured video transcoding software software that can import video from any device & source. It can convert & process footage in virtually any format, incl. hevc, h.264, mp4, mkv, avi, wmv, m2ts, avchd, in whatever resolution or codec. Below is the quick-start guide on how to convert videos from one to another.
2-1. Import Video Files
To begin the conversion, you need to add your video or audio files to DumboFab Video Converter firstly. And there are different methods to add the files.
Click ![]() (Crtl+O) button or
(Crtl+O) button or ![]() (Crtl+I) button to import source video or audio files.
(Crtl+I) button to import source video or audio files.
Add Video: You can select one or multiple video files to import.
Add From Folder: You can add all the files in one folder from here.
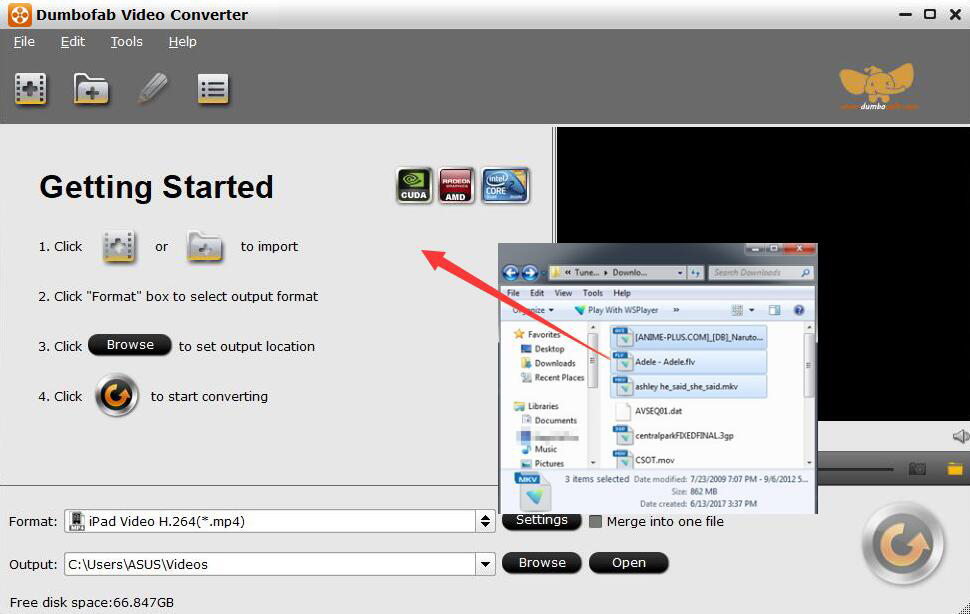
Drag the media files you want to convert from the File Explorer window and drop the files into the conversion queue of DumboFab Video Converter.
2-2. Select Output Profile
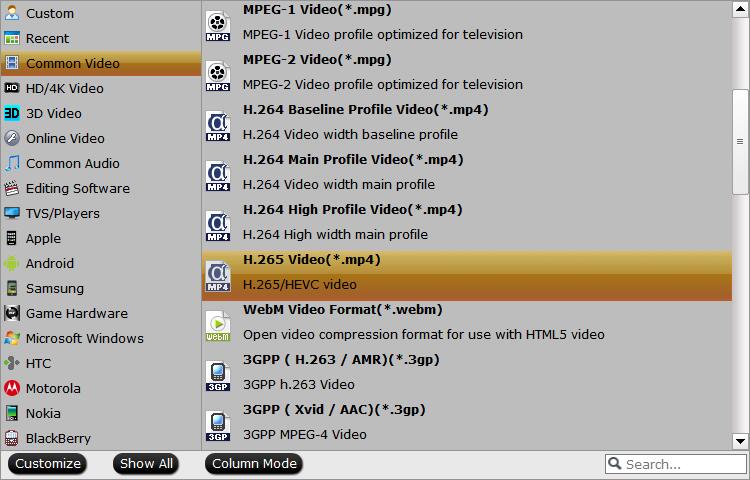
① "Common Video Profile"
Clicking the Format bar, you can choose output format from the format list or customize which formats to be shown on the list. As you see, all regular video like MP4, MOV, MKV, WMV, AVI, FLV, with H.264/MPEG-4/HEVC codecs are provided. Moreover, there are available 3D outputs, 4K outputs and HD outputs, etc.
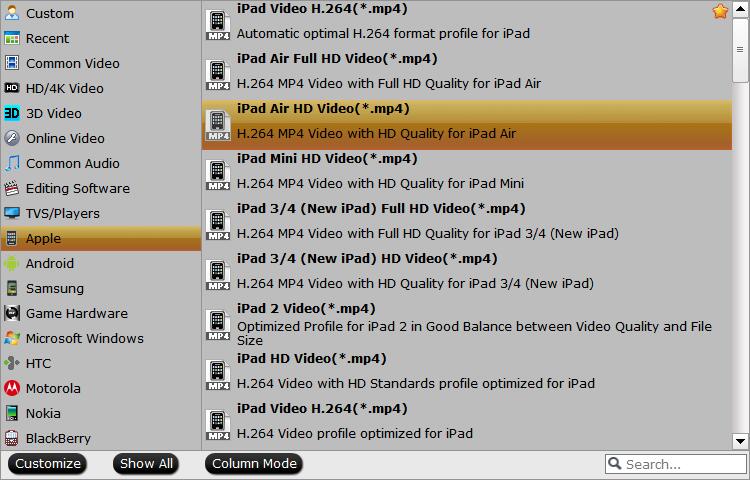
② "Device Profile"
If you want to convert videos for playback on iPhone, iPad, Android, smart TVs, game console, etc. you can simply browse to find device and select it as the output format to get videos with optimized settings.
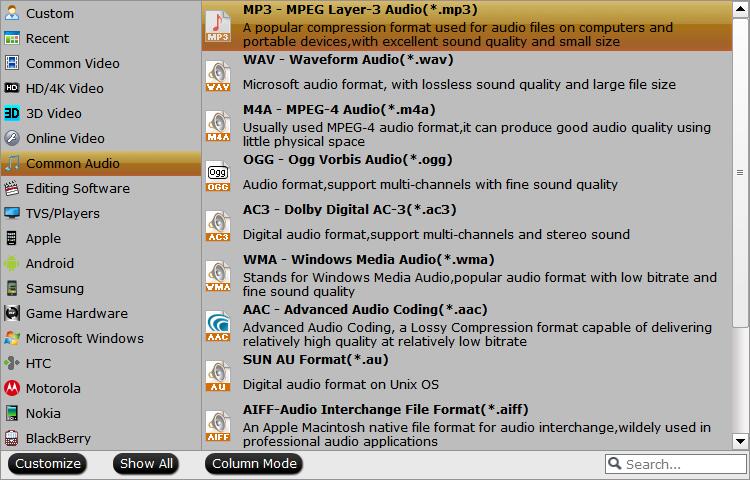
③ "Common Audio Profile"
Extract background music from your video to MP3, M4A, AAC and more.
④ "Web Video Profile"
Convert your videos to MP4, MPEG4 or FLV for YouTube, Facebook and other social networks.
Options:
1. Advanced Settings: To cover your higher needs, you can set all the video and audio parameters regarding the output video at the Advanced Settings, and deeply customize the output video with the built-in video editor.
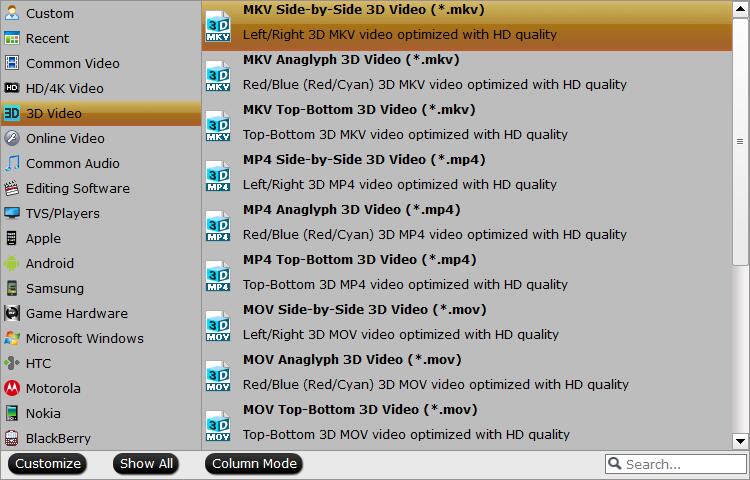
⑤ "3D Video"
DumboFab Video Converter can help you create your own 3D videos from common videos. Click the Format bar, you can choose output format from the 3D Video format list or customize which formats to be shown on the list.
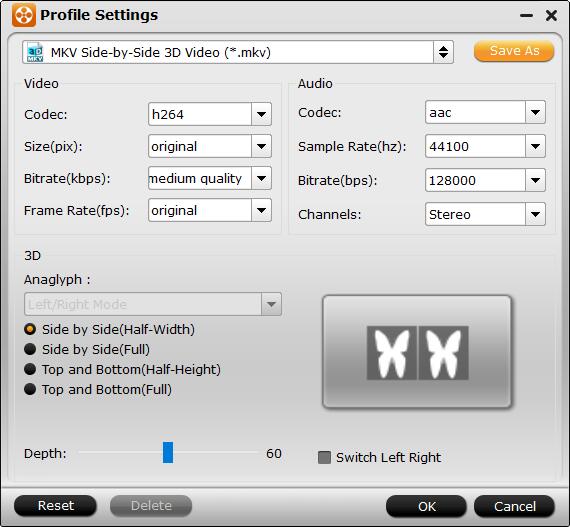
If you like, you could adjust video codec, bitrate, frame rate, etc to get better video quality in saved 3D video by clicking Settings button. Meanwhile, you could choose 3D anaglyph and Depth in Profile Settings to avoid images misaligned.
※ This video converter lets you upscale 2K/1080P videos to 4K and downscale 4k to lower resolution at fast speed.
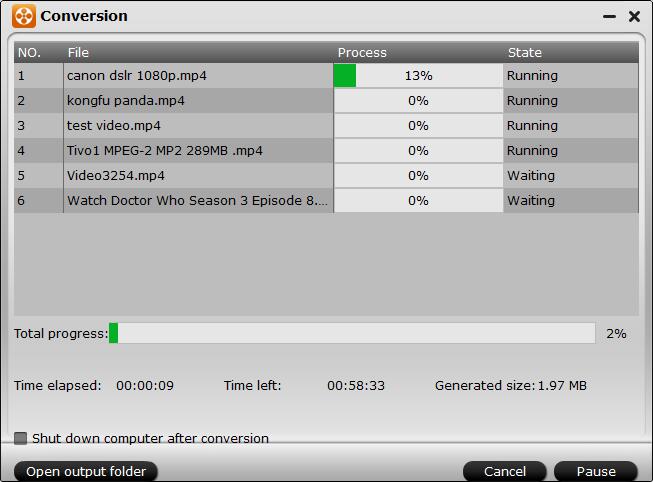
Finally, just click the Convert button in the lower-right corner to start the conversion. you can go to Conversion window to find the conversion process.
※ Other useful tips:
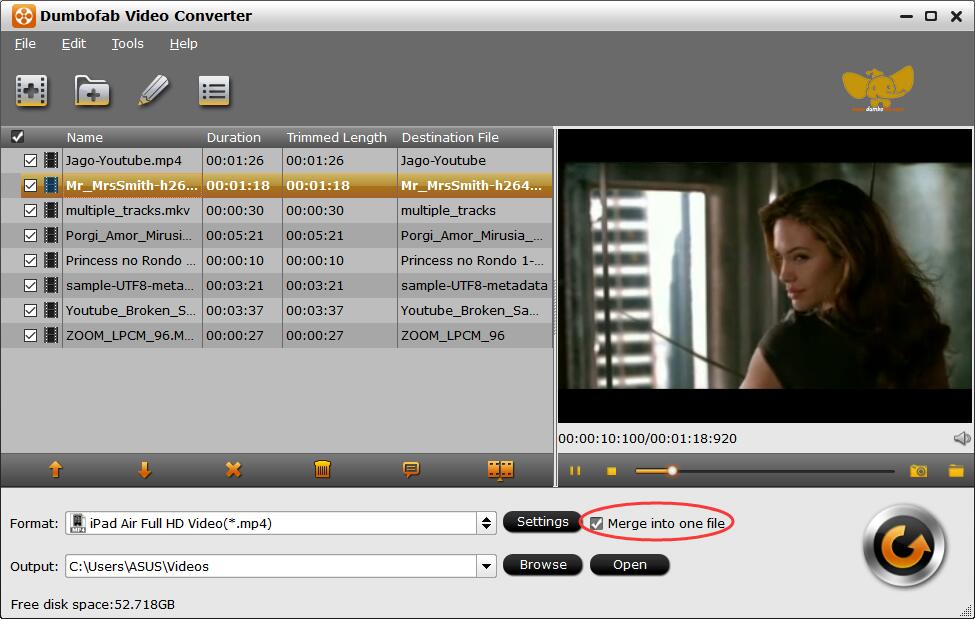
① If you want to put all the imported clips together, and click "Merge into one"to combine them into one.
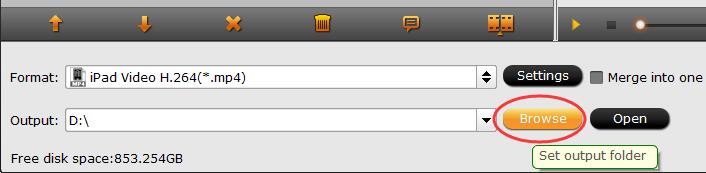
② Press "Browse" and change the location where you want to save the converted file.
 3. Edit
DumboFab Video Converter is preloaded with a video editor to output your desired video style. Learn how to trim, crop, add subtitles, apply effects, add watermark, add volume and much more.
Note: By default the ![]() icon is grayed out. To activate the Edit menu, you have to select an item first. When a video file is selected, you can click the
icon is grayed out. To activate the Edit menu, you have to select an item first. When a video file is selected, you can click the ![]() icon on the tool bar of main interface to edit selected file.
icon on the tool bar of main interface to edit selected file.
Trim and Cut Videos Easily.
By default, the ![]() icon is grayed out. To activate the Edit menu, you have to select an item first. When a video file is selected, you can click the Edit icon on the tool bar of main interface to edit selected file.
icon is grayed out. To activate the Edit menu, you have to select an item first. When a video file is selected, you can click the Edit icon on the tool bar of main interface to edit selected file.
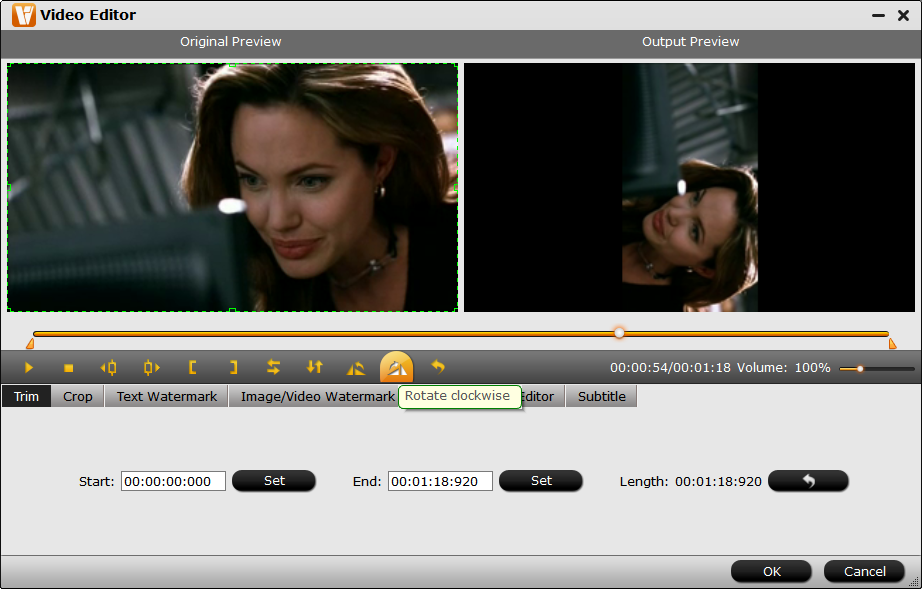
On the "Video Editor" Window, switch to Trim tab and follow any of the methods below to cut unwanted segments:
1. Drag the control sliders to include the segment you want to remain.
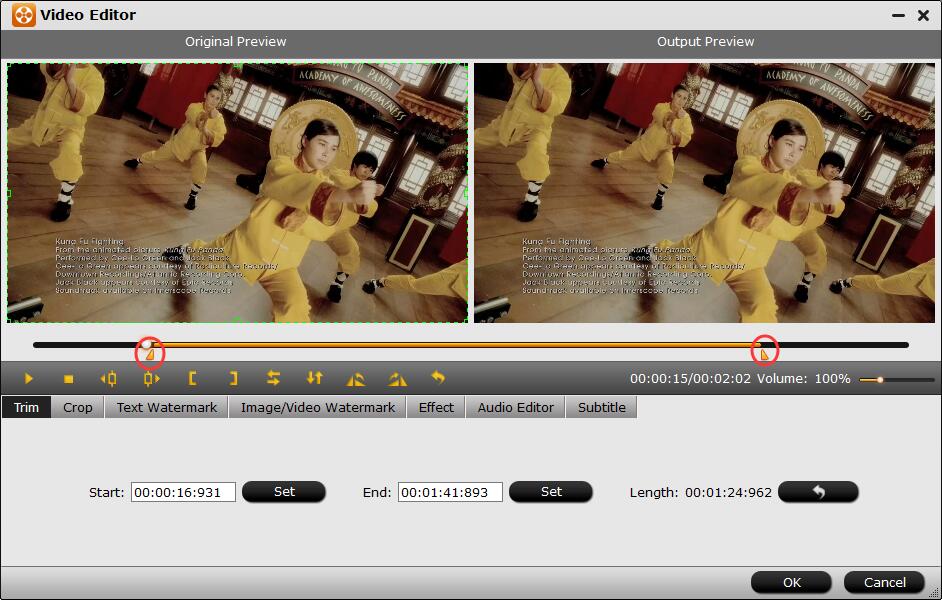
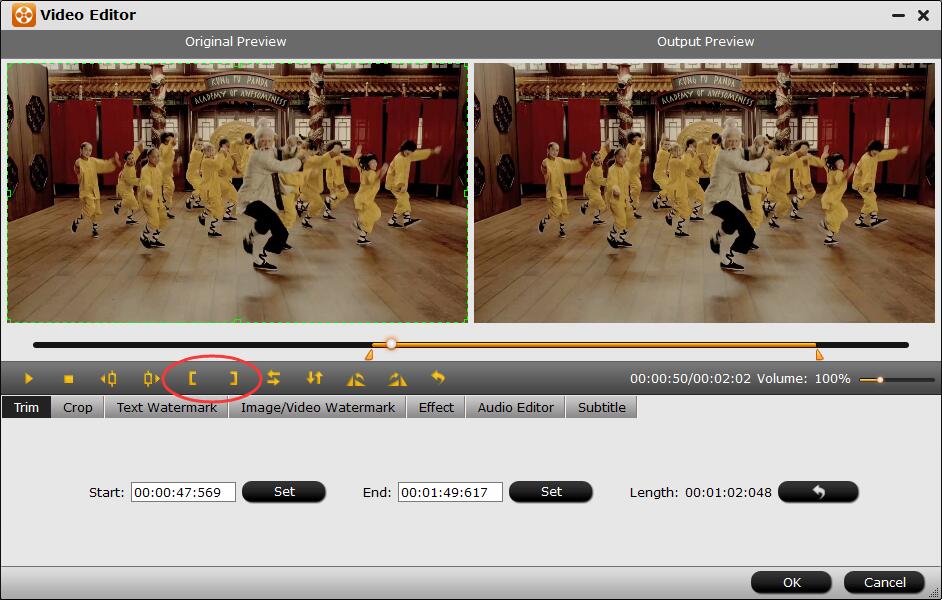
2. Click the left square bracket to set start point, and click the right square to set end point when previewing the video.
3. Input specific values to "Start" and "End" box.
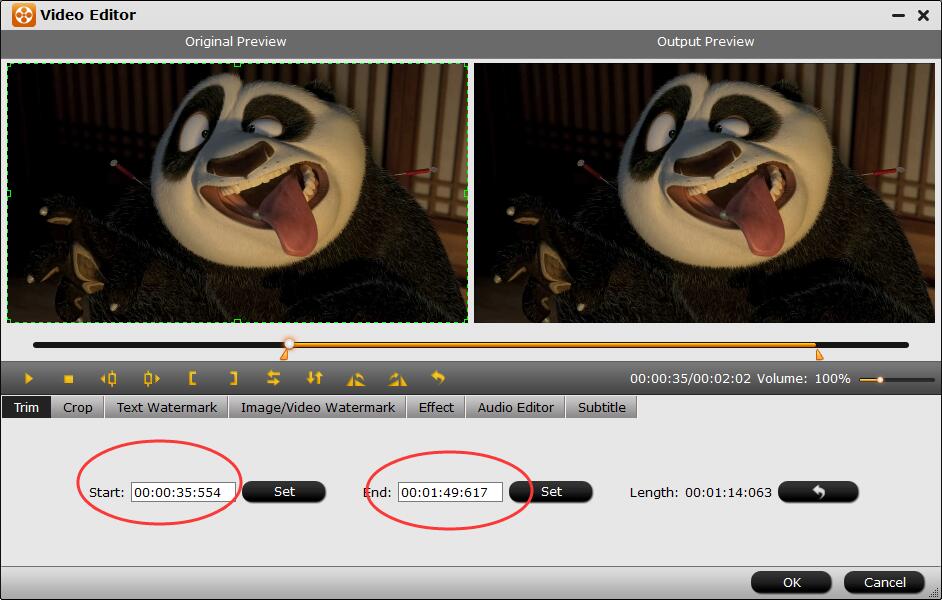
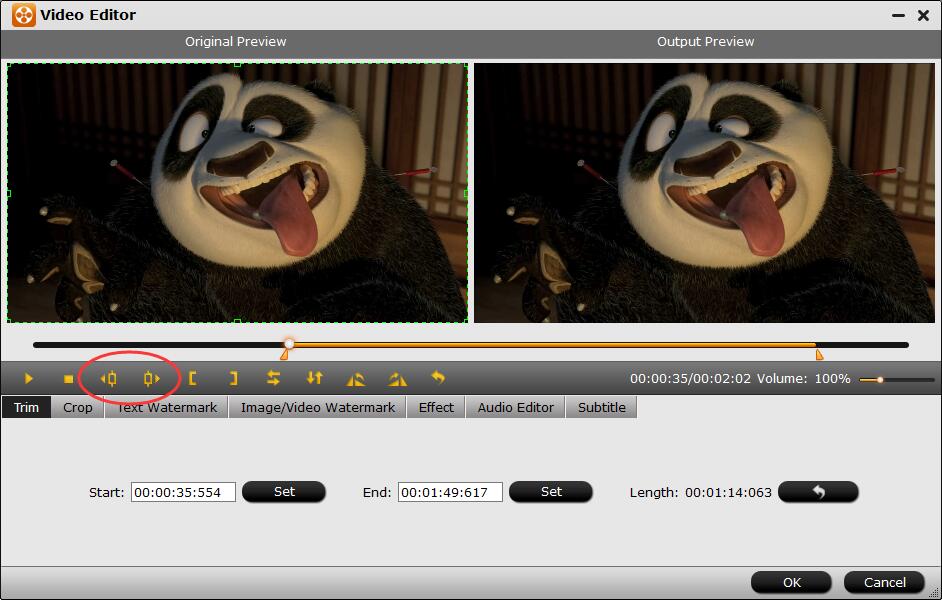
4. Trim frame by frame - DumboFab Video Converter offers "Previous Frame" and "Next Frame" options for users to select frames and trim accurately.
To crop video, you just simply switch to Trim tab. The Crop facility enables users to get rid of the black edges and unwanted area of the image.
A: Crop video by dragging and dropping the crop frame
Simply move your mouse cursor to drag and adjust the green frame to desired position.

B: Crop video by setting values
There are "Simple Mode" and "Advanced Mode" under Crop feature. In "Simple Mode", you can customize values in the box of "Left","Top" and "Crop Size" to make your crop decision.

Under Advanced Mode, there are four value fields: Left, Top, Width and Height. You can either type in specific values to the fields or adjust sliders to crop the source file.

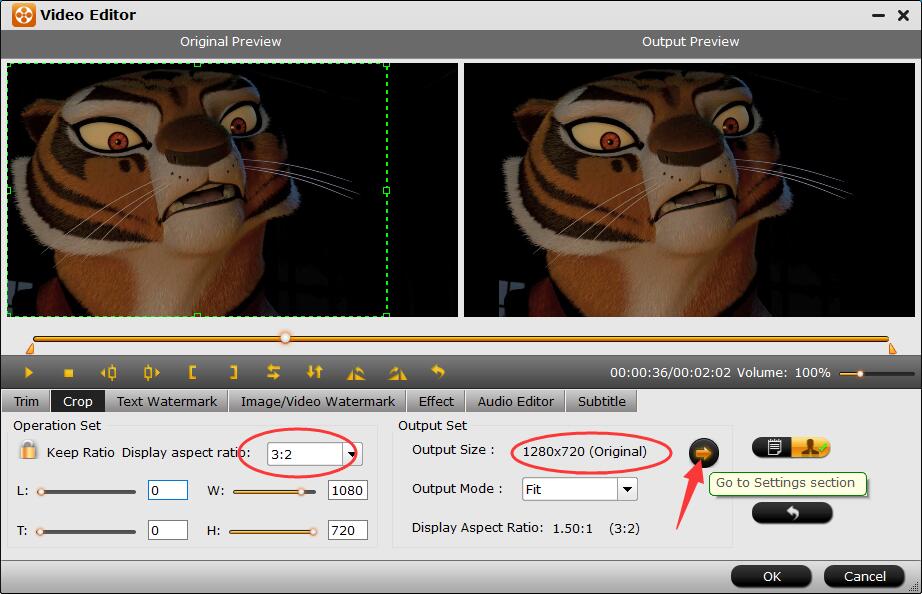
Keep original aspect ratio and cropped aspect ratio
To keep original aspect ratio, users need make sure the "Display aspect ratio” and the 'Size (pix)" in "Settings" option are all set as "Original". If you want to keep the cropped aspect ratio, DumboFab software offers several aspect ratios for you to choose from, including 16:10, 16:9, 5:4, 4:3, 3:2, and 2:1.

Once you selected a "Display aspect ratio", the "green crop frame" will keep this ratio to crop video and you are able to preview the final effect in real time. If you want to keep the same aspect ratio in your final output files, do remember to set the Video "Size (pix)" in "Settings" section as the same ratio as display aspect ratio. For example, if you want to export a file with "3:2" aspect ratio, firstly, you choose "3:2" in "Display aspect ratio", and then go to "Settings" section to adjust the Video "Size(pix)" as 720x480 or 1440x960. After finished, click "OK" to confirm.
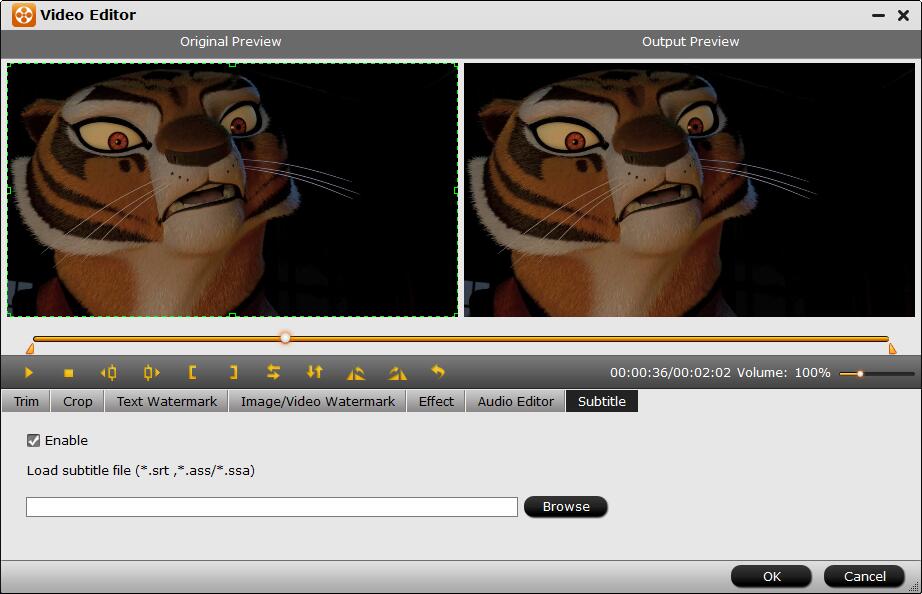
Under Subtitle tab, check Enable, and then you can add *.srt or *.ass/*.ssa subtitle-files to the video as hard subtitles.
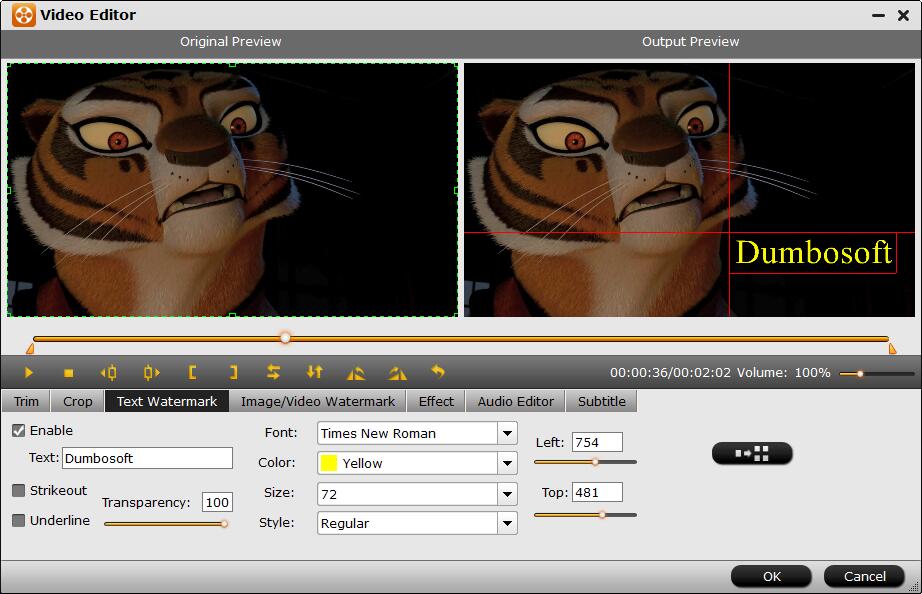
DumboFab Video Converter allow users to add text, image and video watermark to stamp your videos with your name or other indentifying marks.
Under Text Watermark tab, check Enable, and then you can create a text watermark to personalize your video. Type whatever text you want in the blank input field next to it. You can also adjust the font, transparency, vertical and horizontal position of your watermark.
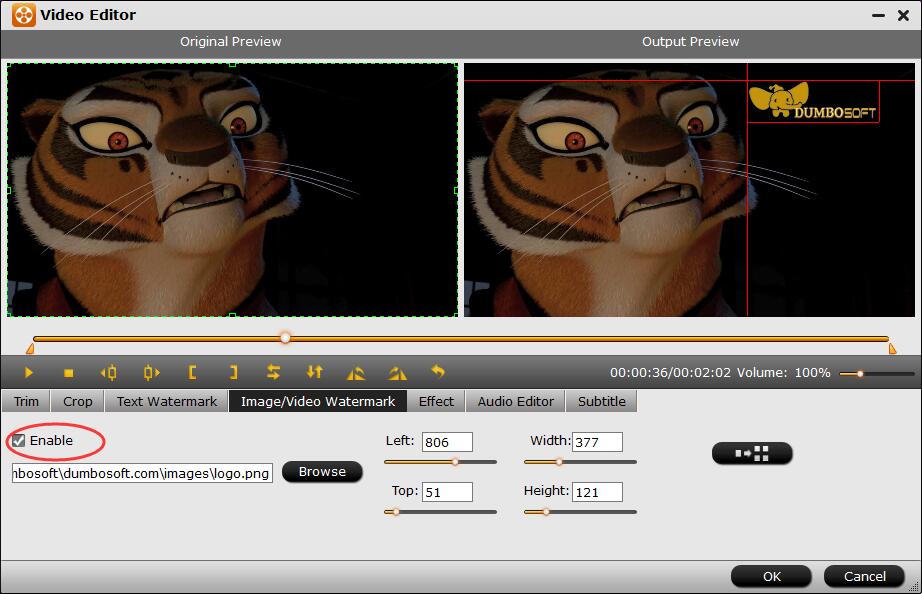
Under Image/Video Watermark tab, check Enable, and then add images or videos as watermark onto selected video file. The location can also be set by dragging on the preview screen.
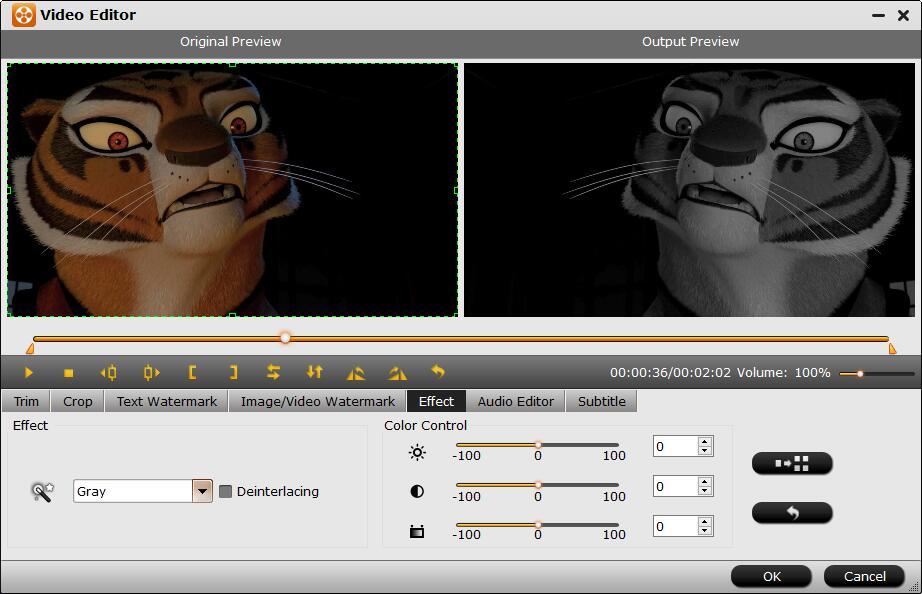
Under Effect tab, you can add special effects like Simple Gauss Blur, Flip Color, Invert, Aged Film to your source video. In Color Control section, you can correct color by adjusting brightness, contrast, and saturation. You can also tick off "Deinterlacing" to keep good image quality.
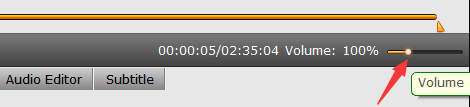
You can adjust the file volume by moving the slider.
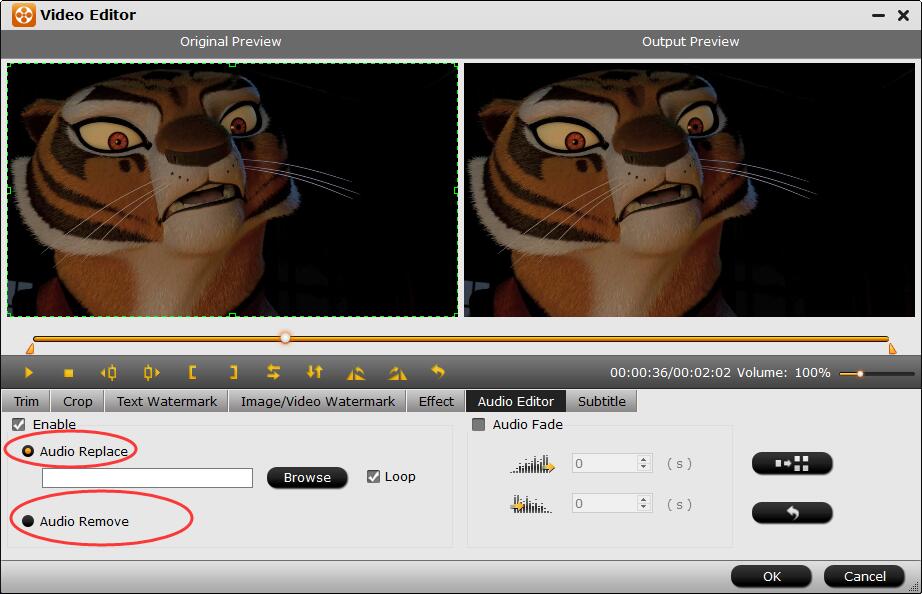
Under Audio Editor tab, check Enable, and then you can either replace/remove original audio, or set audio fade in/out effects.
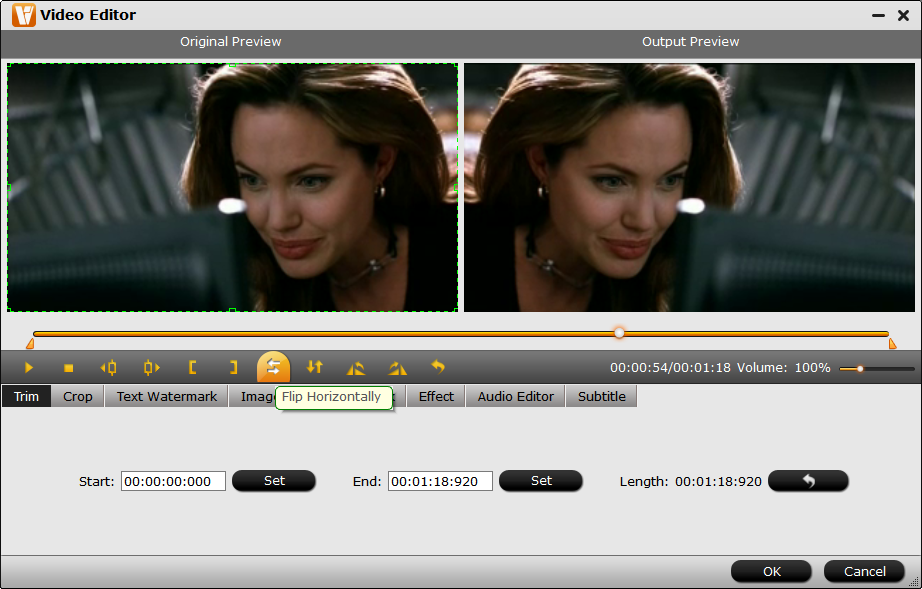
There're flip horizontal and flip vertical, anticlockwise and clockwise 4 options for you to rotate the video.
Flip Horizontally: Click to flip the image horizontally.
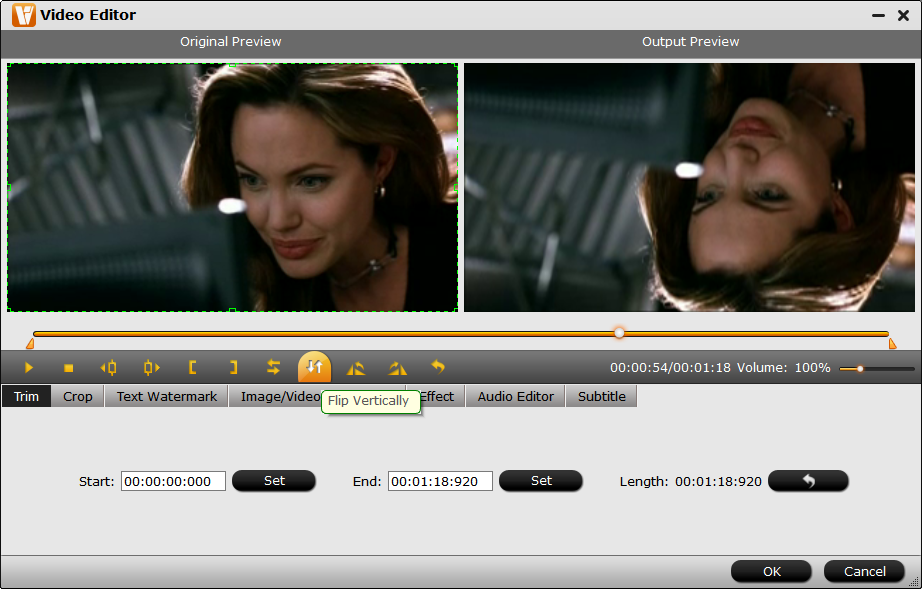
Flip Vertical: Click to flip the image vertically.
Rotate conunter-clockwise: Click to rotate the image 90°towards left.
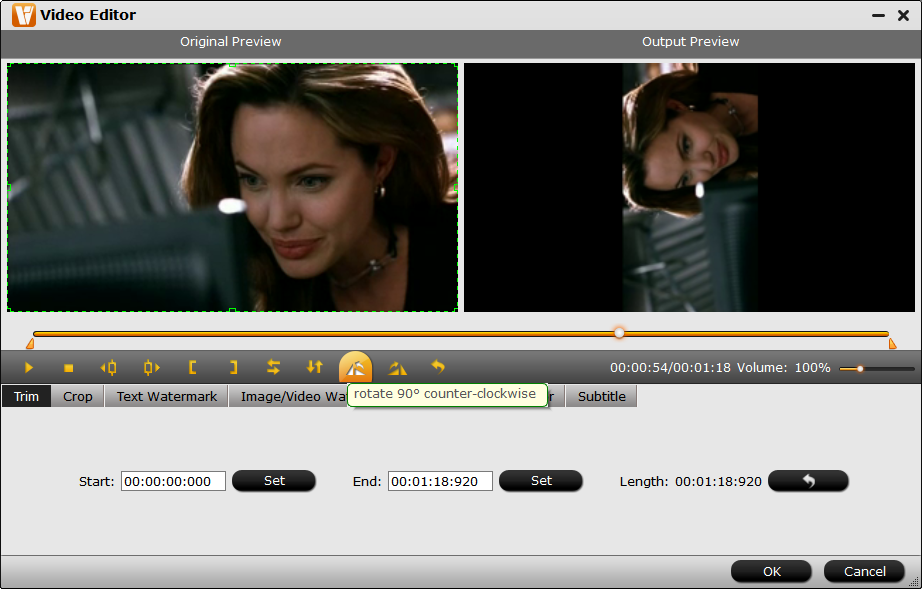
Rotate clockwise: Click to rotate the image 90°towards right.
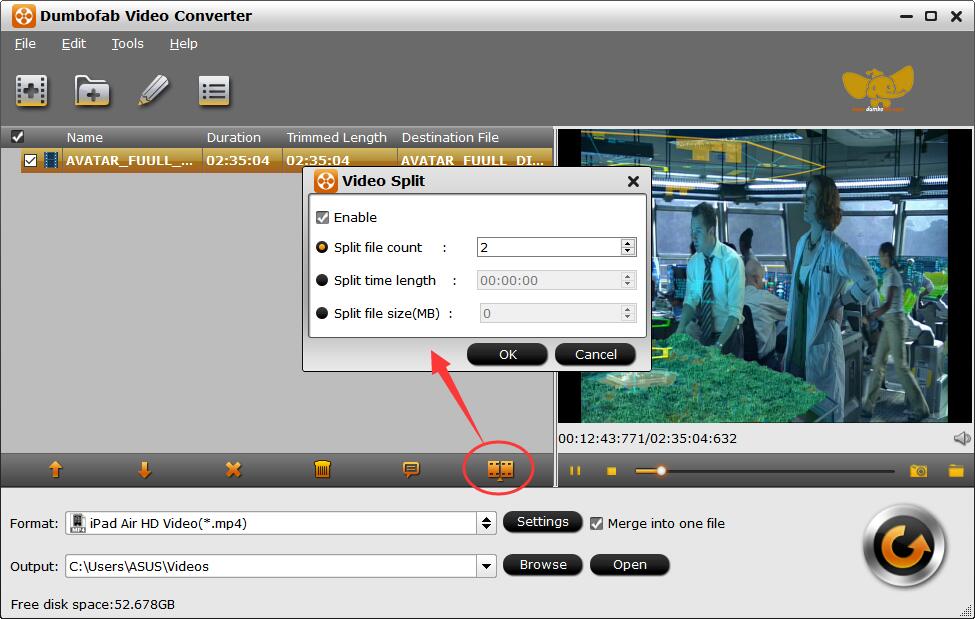
By clicking the Split ![]() button under file list, or choose Split from "Edit" menu, you can launch the "Video Split" window. Checking "Enable" to enable it, and then you can split the file by file count, time length, or file size.
button under file list, or choose Split from "Edit" menu, you can launch the "Video Split" window. Checking "Enable" to enable it, and then you can split the file by file count, time length, or file size.
If you want to put all the imported clips together, please tick off "Merge into one" to combine them into one.
 4. Settings
Here you can learn how to take advantage of other icons and settings.
This icon will remove all the titles in file list window and go back to the initial interface directly.

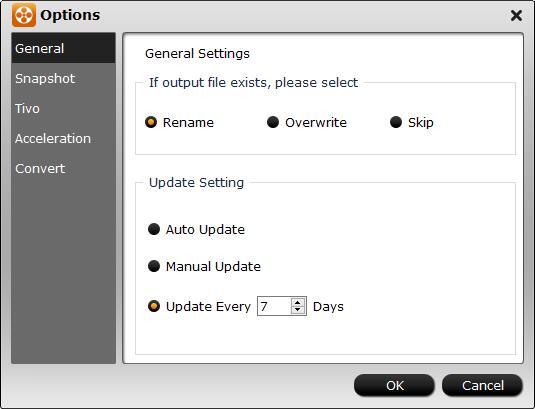
To make good use of DumboFab Video Converter, You'd better set up DumboFab Video Converter prior to the use. You can set all the preferences when you firstly launch DumboFab Blu-ray Ripper and change them from Menu > Tools > Options.
In General tab, you can choose what to do if the output file name already exists and set update frequency.
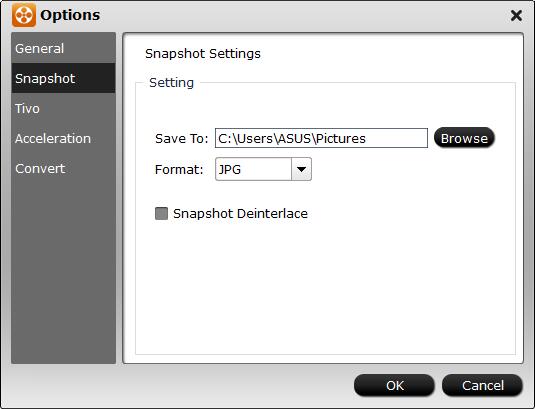
In Snapshot tab, you can set the output folder to save the pictures and the format of the pictures. You can choose from JPG, PNG, TIFF, and BMP. And you can deinterlace the snapshot.
Under Acceleration tab, you can choose to enable GPU Decode or Encode Acceleration if your computer supports.

Note that CUDA/AMD is accessible only when there is an NVIDIA/AMD graphics card that supports GPU en-decoding acceleration. The CUDA/AMD button will be grayed out/ denied when the software fails to detect a satisfactory NVIDIA/AMD graphics card. The CUDA and AMD APP acceleration only work when creating H.264 encoded video files.
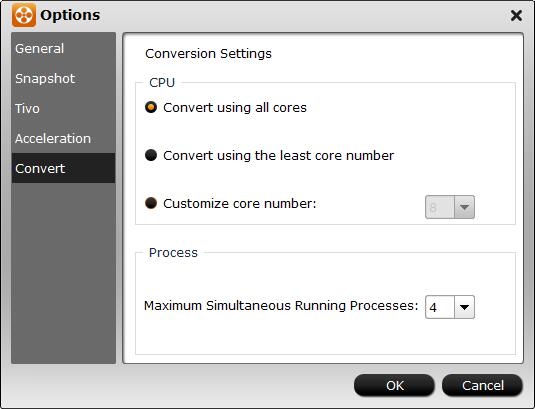
In Convert tab, you can set how many cores to use and how many tasks to process while converting.
4-3-1. Choose Output Directory and Find the Output Folder
By clicking Browse button on main interface, you can choose the directory where you'd like to put the output files. By clicking Open button, you can popup the output folder.
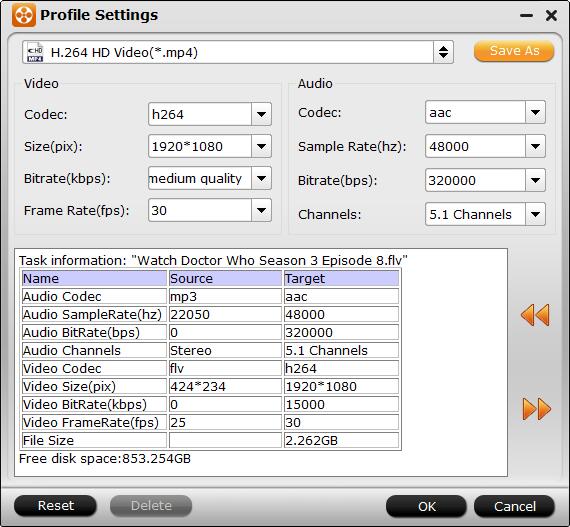
4-3-2. Advanced Settings:
All the output formats are set optimized video/audio codecs, bitrates, frame rates, etc. But you can still specify as you like by clicking Settings button. In the Profile Settings window, you can choose or specify exactly the parameters you like. And in the Task information section, you can compare the detailed information of the source video and the target video.
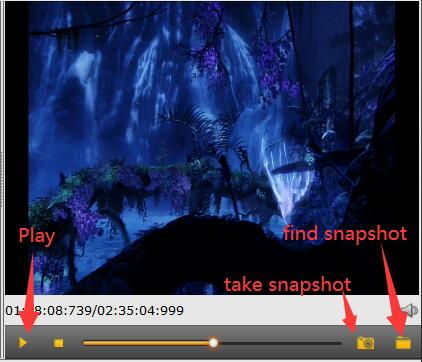
After importing, all movies will be listed in the program. You can preview the imported movie file by double clicking or checking one of them and click the play button under preview window.
By clicking the camera button under the preview window, you can take snapshot from the playing window as Thumbnail or for other use. By clicking the folder button, you can find the snapshots you took.